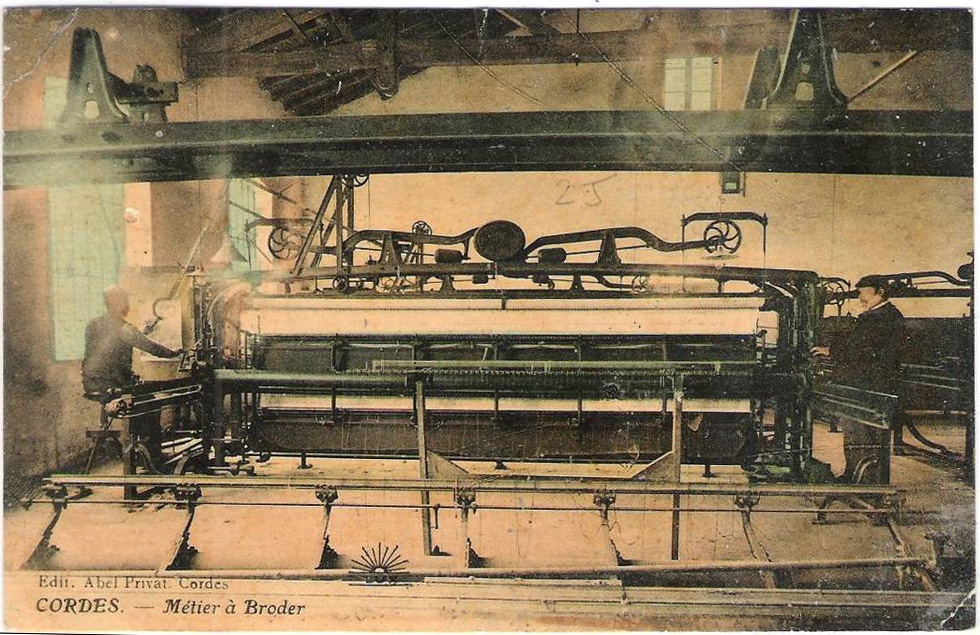
Even if this is not something you’re going to refer to every day, I wanted to write this tutorial describing how to rebuild and set up a Martini mechanical embroidery machine from the end of the 19th century.
We moved this chunk of precision machinery from the Museum of Modern Art (MOMA) in Cordes-sur-Ciel to the Charles Portal Museum where it will more logically fit.
Technical details – Preliminary Considerations
The embroidery machine
Size: 6 m x 4 m, height 2,80 m
Weight: 3 tons
Number of needles: 312
Size or the needles: Length = 18 mm; Diameter = 0.8 mm
Labelling the dismantled parts
While dismantling the machine, we took care to attach labels to each part or parts assembly. We ended up adding about 200 labels.
We also wrote down some notes and took as many pictures as possible.
Normally, it should be all smooth sailing…
This embroidery machine was in operation in the 80’s and 90’s. Sadly, through lack of knowledge and of maintenance, it suffered some damage. We have to start working on the settings from scratch. It reminds me of an out-of-tune grand piano that we are to take completely appart to hand-carry before putting it back together to play the concert of the century…
Shims
During disassembly, we found a lot of paper and cardboard shims, used to fine-tune some settings. I left them “glued” to the parts. I realized that they would no longer be the right ones once we’d put the machine back together, but they may help understand what’s going on if we ran into strange setting
The gearing of the embroidery machine is ultra precise at the end of the whole sequence. It is quite complex but also rather basic in nature. I figure that, if we stay very precise from the start of the rebuild, and can trust that the parts have been machined with the ultimate precision the Swiss are well known for, we won’t be needing too many shims…
Control accuracy
I decide to allow myself a 0.1 mm margin of error, for the heavier as well as for the smaller parts. It is obvious that if a carriage is 1 mm too high, all the needles it holds will shatter.
Lubrication
Here too, food for thought… The days of neatsfoot oil and vegetable oil are over. All the axes rotate on plain bearings. I pick some PTFE grease and synthetic oil to lubricate the parts.
There will be trial runs…
1. Preparing the ultimate resting place
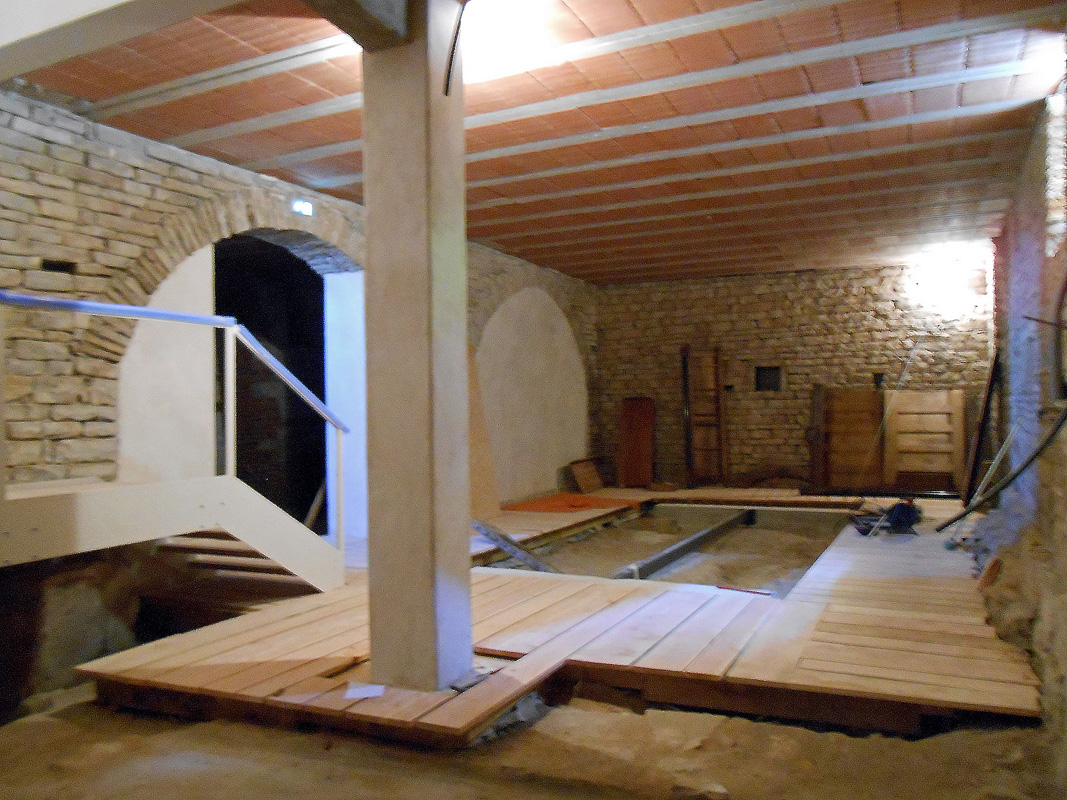
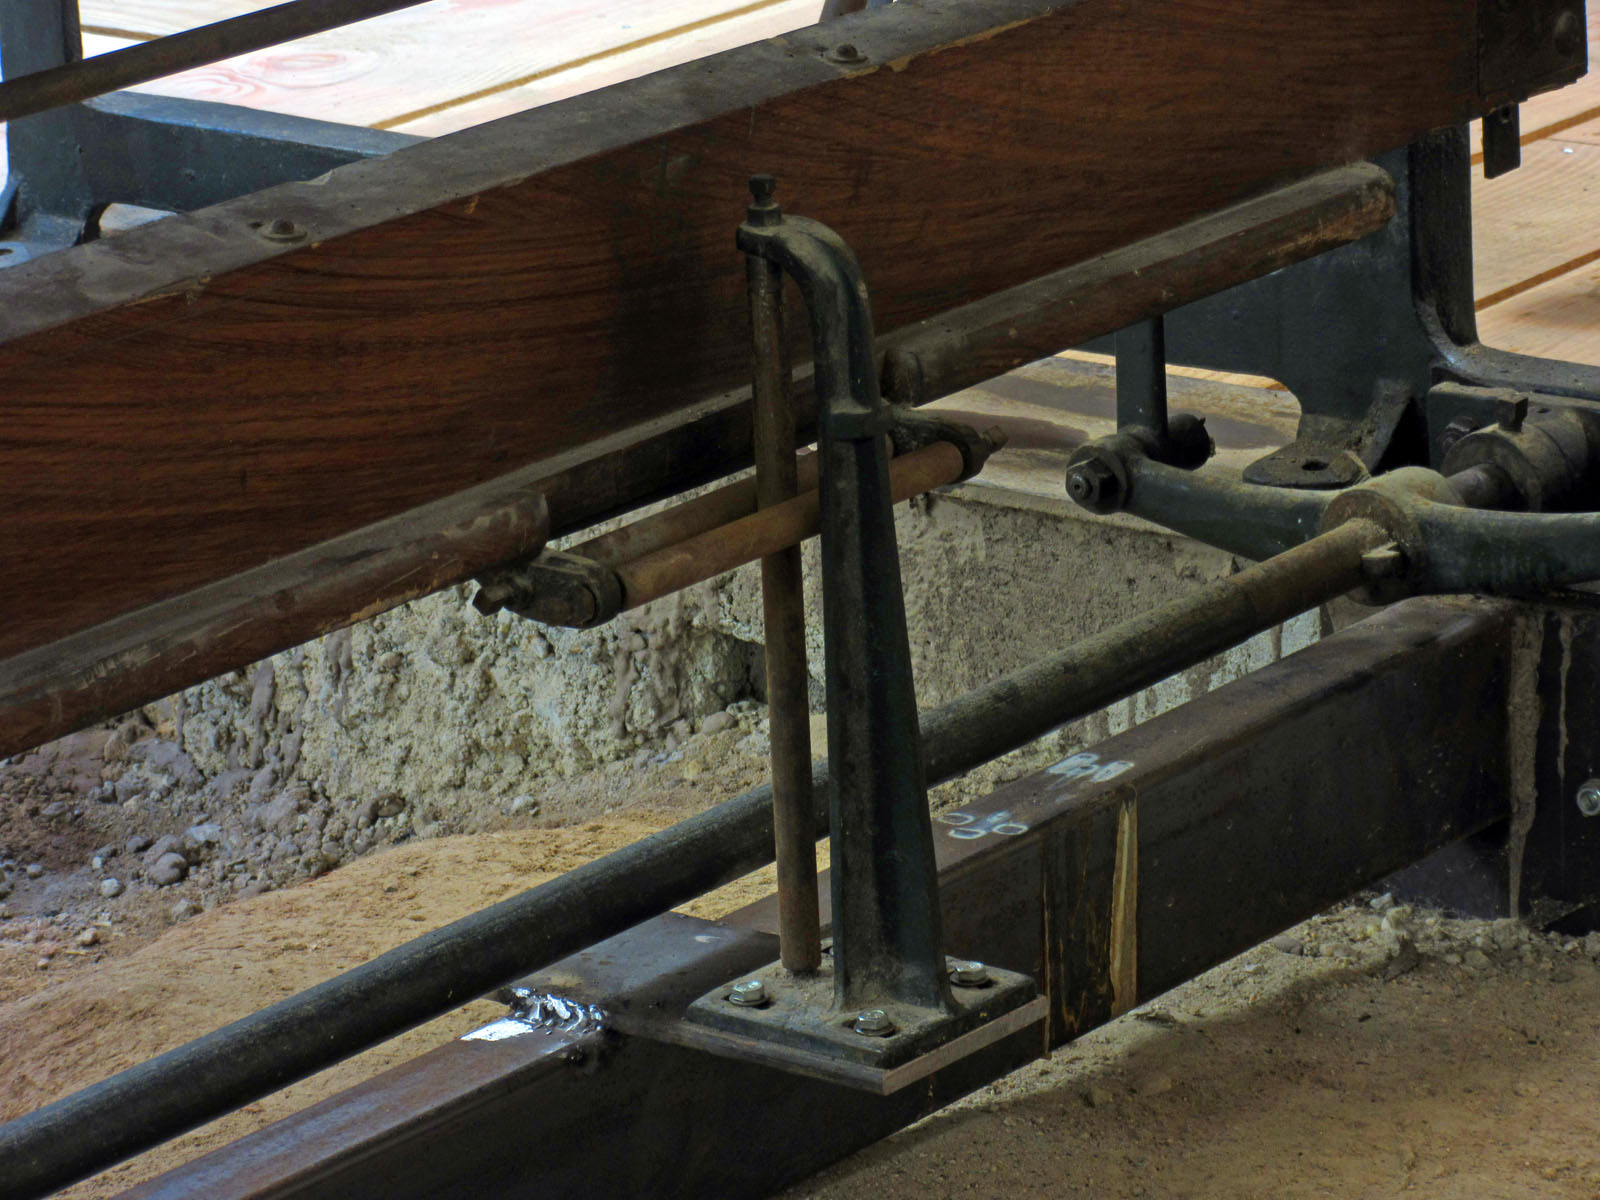
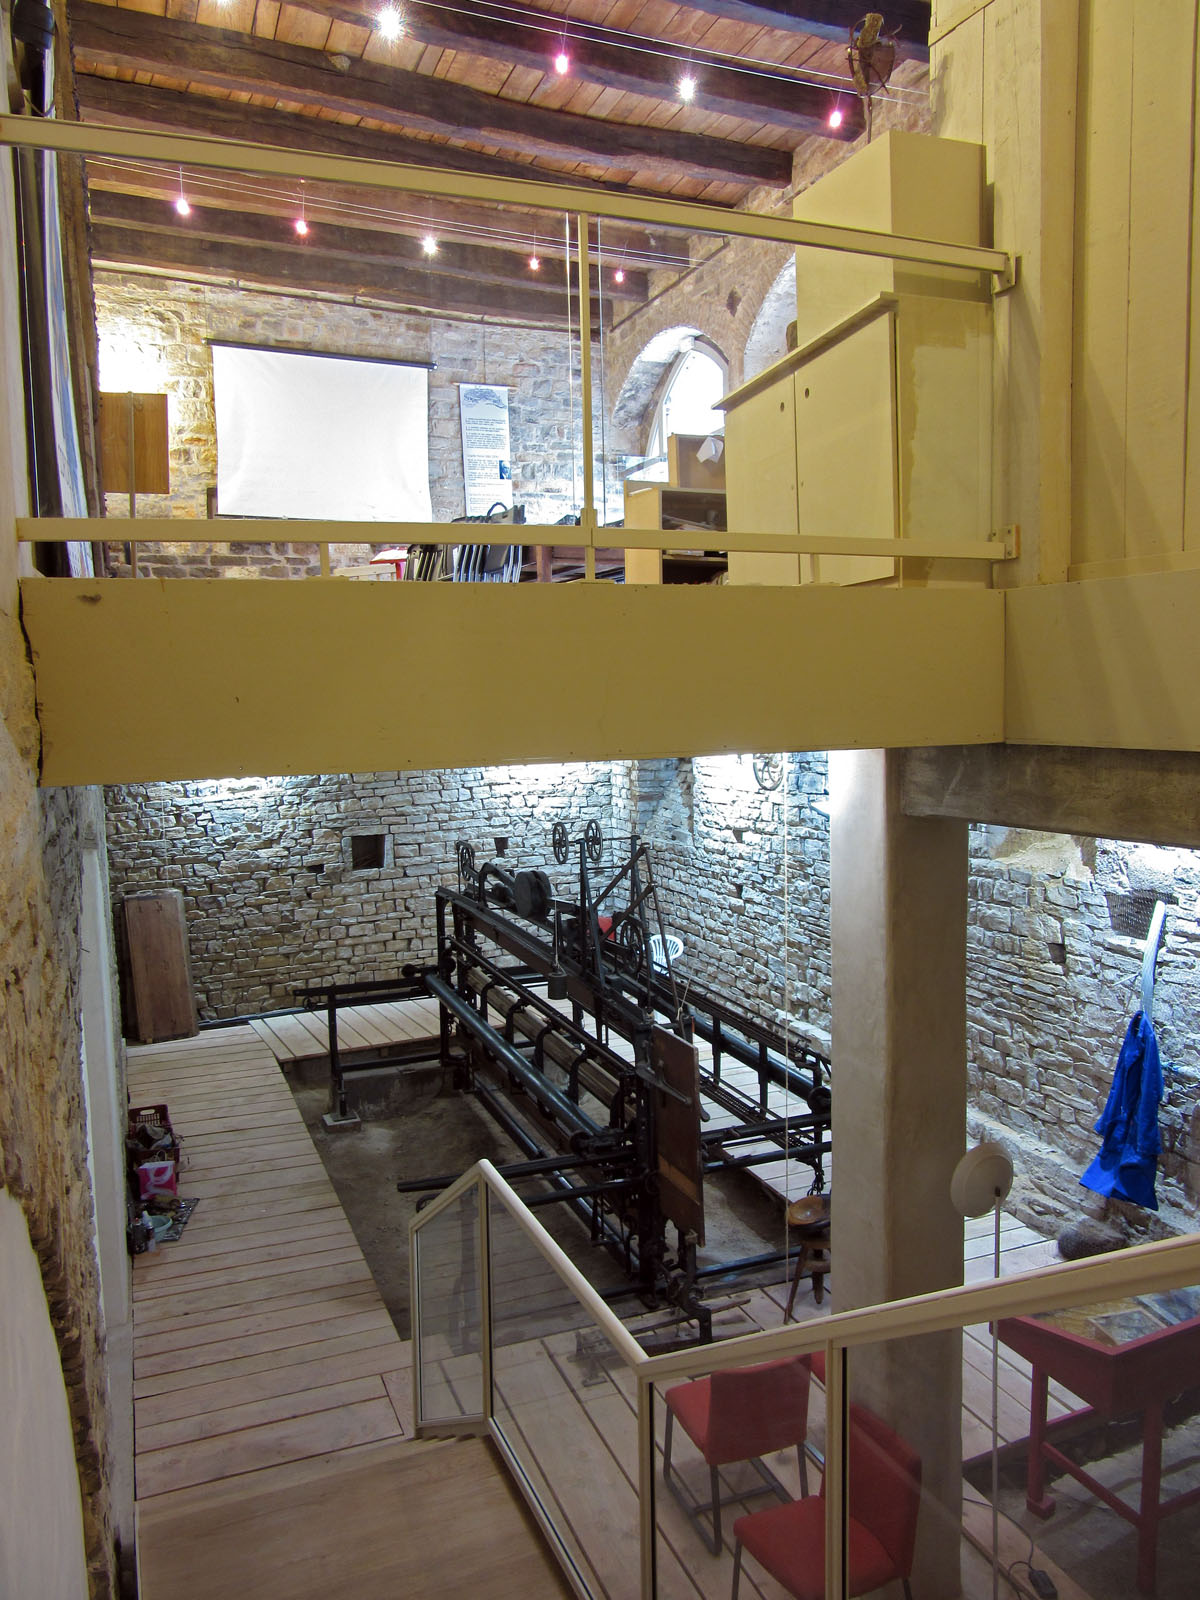
This is a view of the basement of the Charles Portal Museum, nested in the foundations of the houses of the first inhabitants of Cordes in the 13th century. Two concrete soles are placed on the ground, as well as small blocks for the stabilizers.
The metal crossbar will support the central bearing for the inverter shaft, as well as the guides for the frame.
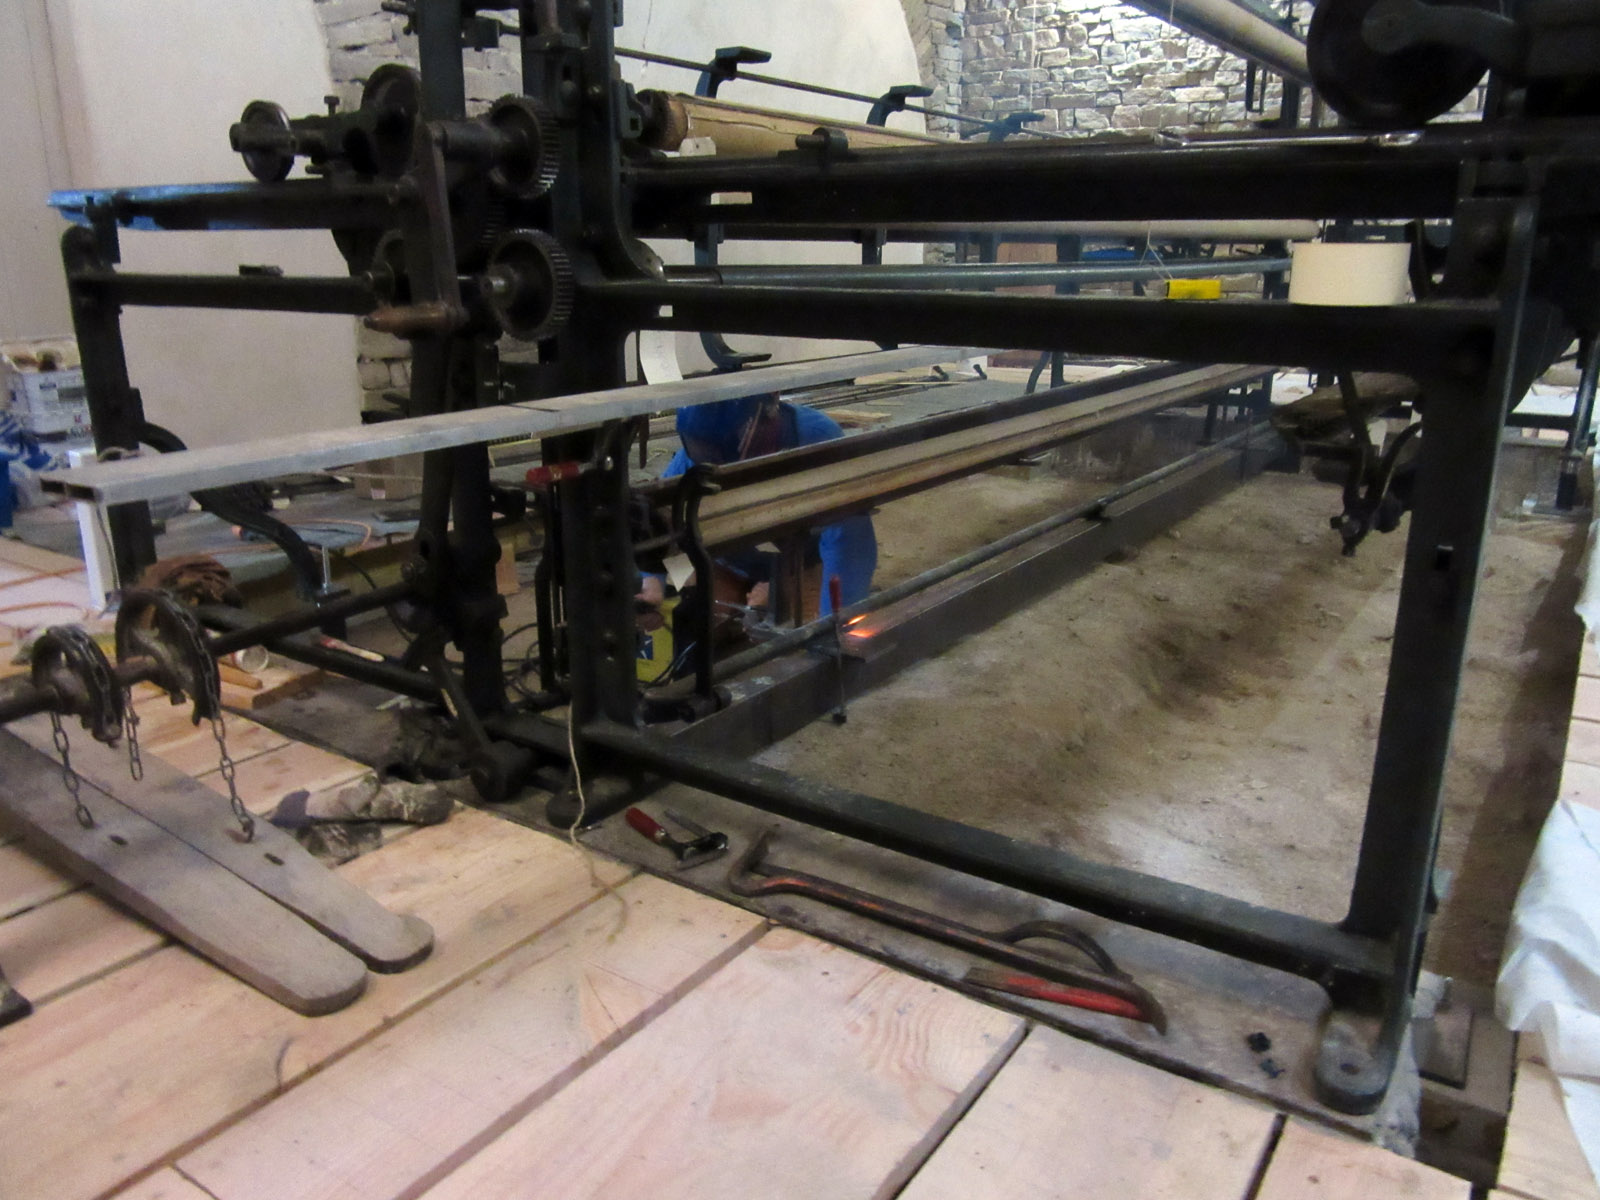
2. Putting the chassis together
You must make sure that the beams for the chassis are mounted perfectly parallel. After measuring and re-measuring and checking the diagonals, we’re good, well centered on the blocks.
3. Installation of the inverter spreader bar
The inverter spreader bar relies on three bearings: one adjustable bearing on each side beam of the chassis and one on the center. We need to shim the bearings on the beams. There were already some cardboard shims, a cut-up calendar… Let’s try to put the puzzle back together. I opted for metal shims made out of old tins of tea. They will be a souvenir of our time for the next people who will move the loom…
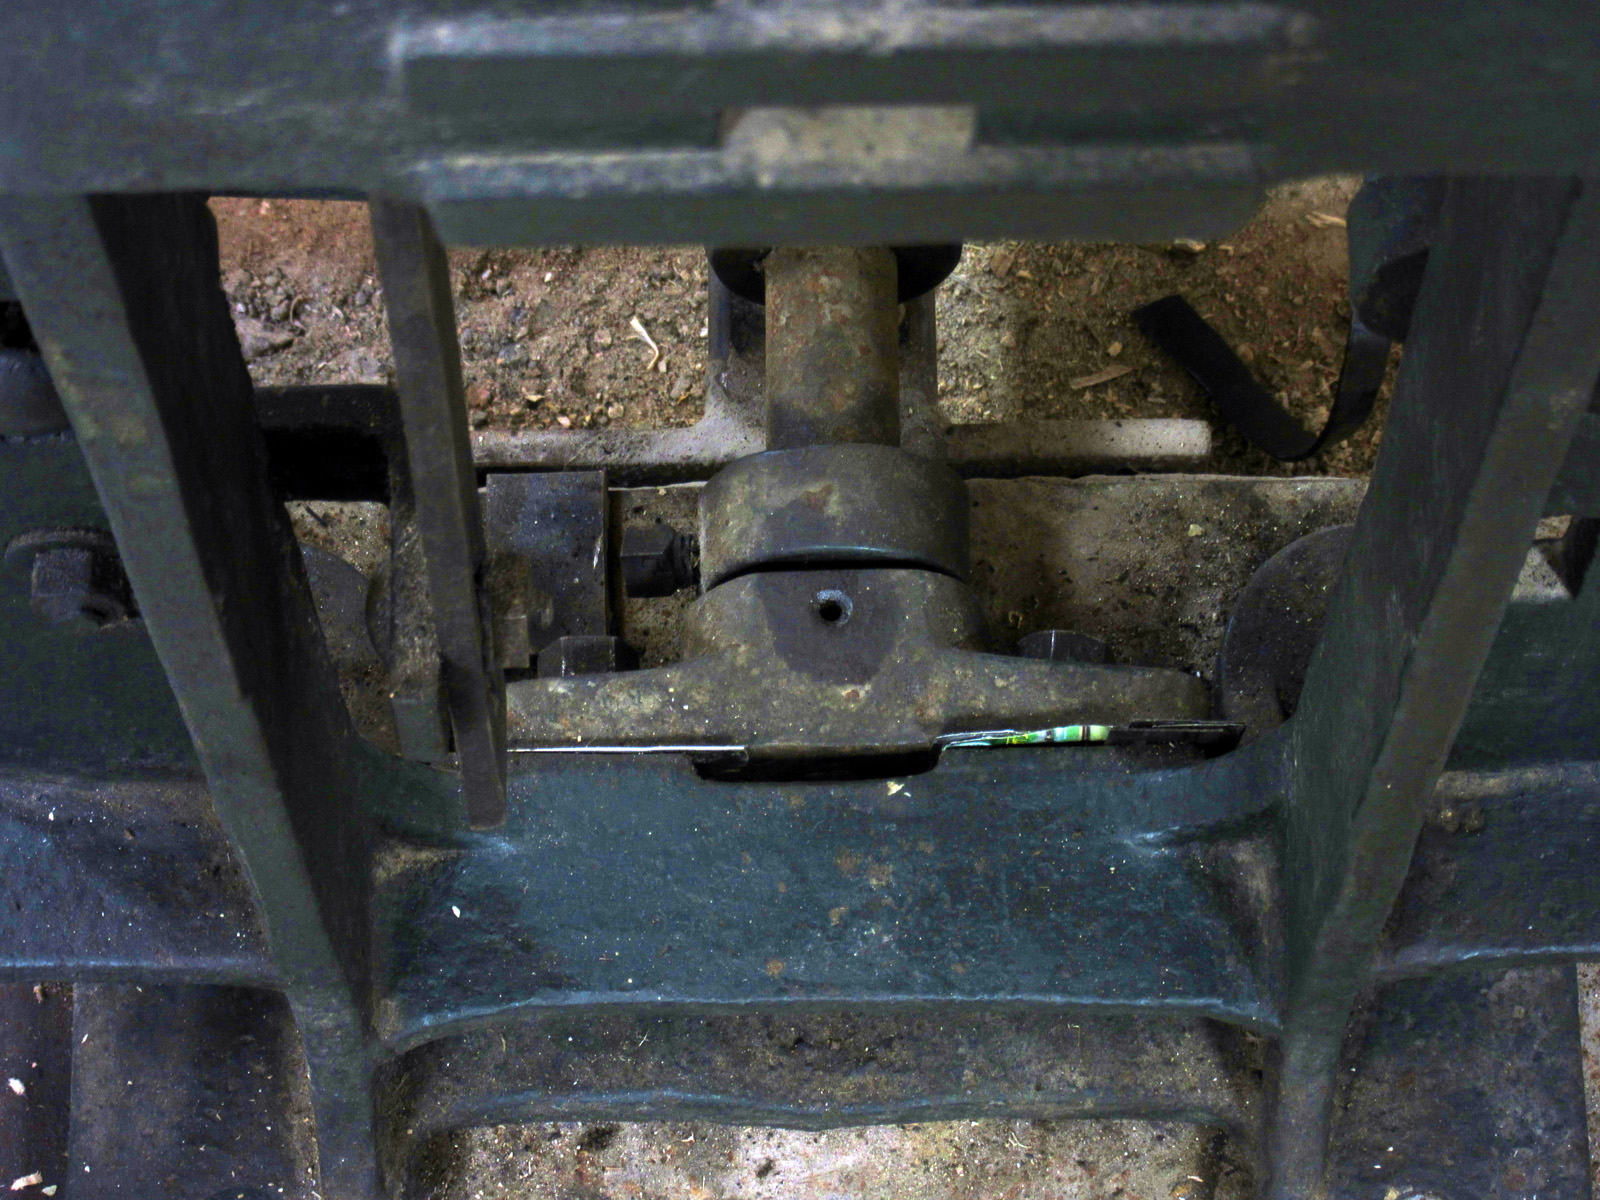
The approach is quite empirical, and, as a result, it still takes a while.
4. Mounting the counterweight
Nothing to sneer at…!
The counterweight weighs 120 kg and we have to lift it up to a height of 2.5 m. We juryrig a lift with 2 ladders, a couple blocks, a hoist, and voilà. Almost too easy…
5. Installing and adjusting the rails
No pictures for this stage… But nothing complicated. We attached them to the chassis, and can rely on a plethora of adjustment screws. We level them carefuly and ensure that they are well lined up, in parallel, exactly lined up to the width of the carriage.
6. Installing the carriages
Here again, nothing complicated, but no photos again: the President and I miserably failed at taking selfies while installing the tubes with their casters.
It behooves me to remind you that they each weigh more than 100 kg and that for us two, given the awkward configuration, setting the carriages on the tracks proved to be a brief but quite memorable effort.
Once in place, we’re back to fine tuning the settings. Using a tire iron as a lever, what a treat. It is with the utmost sensitivity and soft touch that we ease the various parts into place. It takes a light touch to move them, we just have to remember to push or crank them in the right direction. Righty tighty… Loosen up some bolts, tighten them back, loosen up others, gradually move and mobilize each part of the machine. A drop of lubricant, some pushing here, some pulling there, observing, adjusting the stops, listening to how they sounds, getting to feel them…
7. Installing and adjusting the brackets for the gripper holders
We must ensure that the brackets that will hold the gripper holders are all in one plane, that is level. I know, the aluminum straight edge doesn’t look quite straight. It is indeed a bit out of plane, but not in the dimension that interests us.
8. Installing the frame guides
The holes used to attach the frame guides are oblong, and thus let us fine-tune the positioning of the guides. They sit on small plates welded onto the crossbar.
9. Installing and adjusting the “gripper holders”
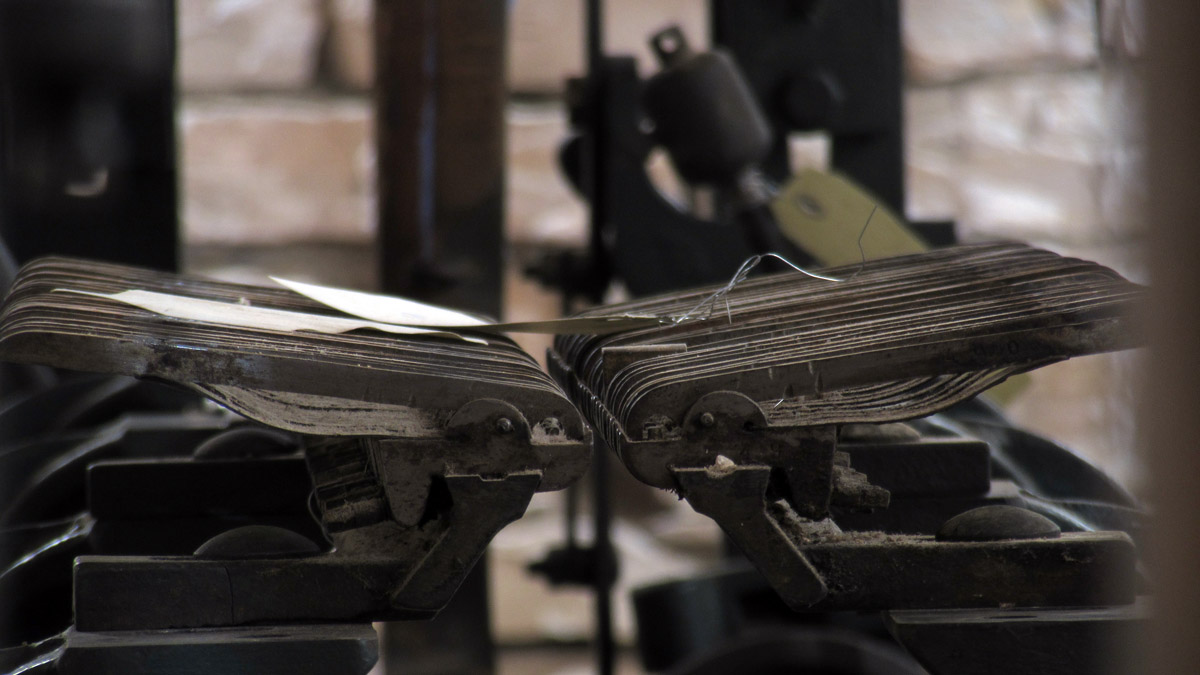
26 grippers are mounted on each of the 24 sectors, or gripper holders. It is painfully obvious that each single one of the 312 grippers on the carriage by the window must line up precisely with the 312 other grippers that will receive the needles on the carriage by the wall.
Observing the grippers with a magnifying glass, I can deduct how much forward clearance I have to leave between the grippers when the carriages reach the stops.
10. Adjusting the grippers
I run the first tests with one needle, and it does not really line up well… I must adjust all of them with an accuracy of 1 tenth of a millimeter.
The overall height is good. However, we must adjust them laterally. There is a small 4 mm square screw that we simply need to loosen up to move the gripper.
The only difficulty lies in the fact that when you tighten the screw, the gripper “jumps” a few tenths of a millimeter and shifts out of alignment. It takes us a bit care to get the hang of it and be able to compensate for this pesky offset. Lucky for us, we have 312 grippers to practice with in order to get the hang of it… At the rate of 5 minutes per gripper, it shouldn’t take us much more than 3 days.
11. Adjusting the drive chain for the grippers
When you press a pedal:
- The drive gear for the carriages goes into reverse.
- The inverter shaft that controls the grippers goes into reverse. Then, the connecting rod and crank assembly turns the camshafts that will open or close the grippers.
When you press the other pedal, it’s the opposite.
I know that 2 camshafts are out of true, which gives them some rotational resistance. The left pedal feels hard to press. I do my best to set correctly the bearings that don’t have any longitudinal guide. Because of this, they can turn slightly while installing them. If they are not perfectly lined up, the system jams. I take the time to line them up with great care, especially when tightening the nut. Here again, the machine requires a light touch…
The side by the wall proves to be the most irksome. In order to ease up the action of the right pedal, I rig up some power-assist with bits of innertube. By counting the number of turns, we can be accurate and keep it balanced.
12. Gearing
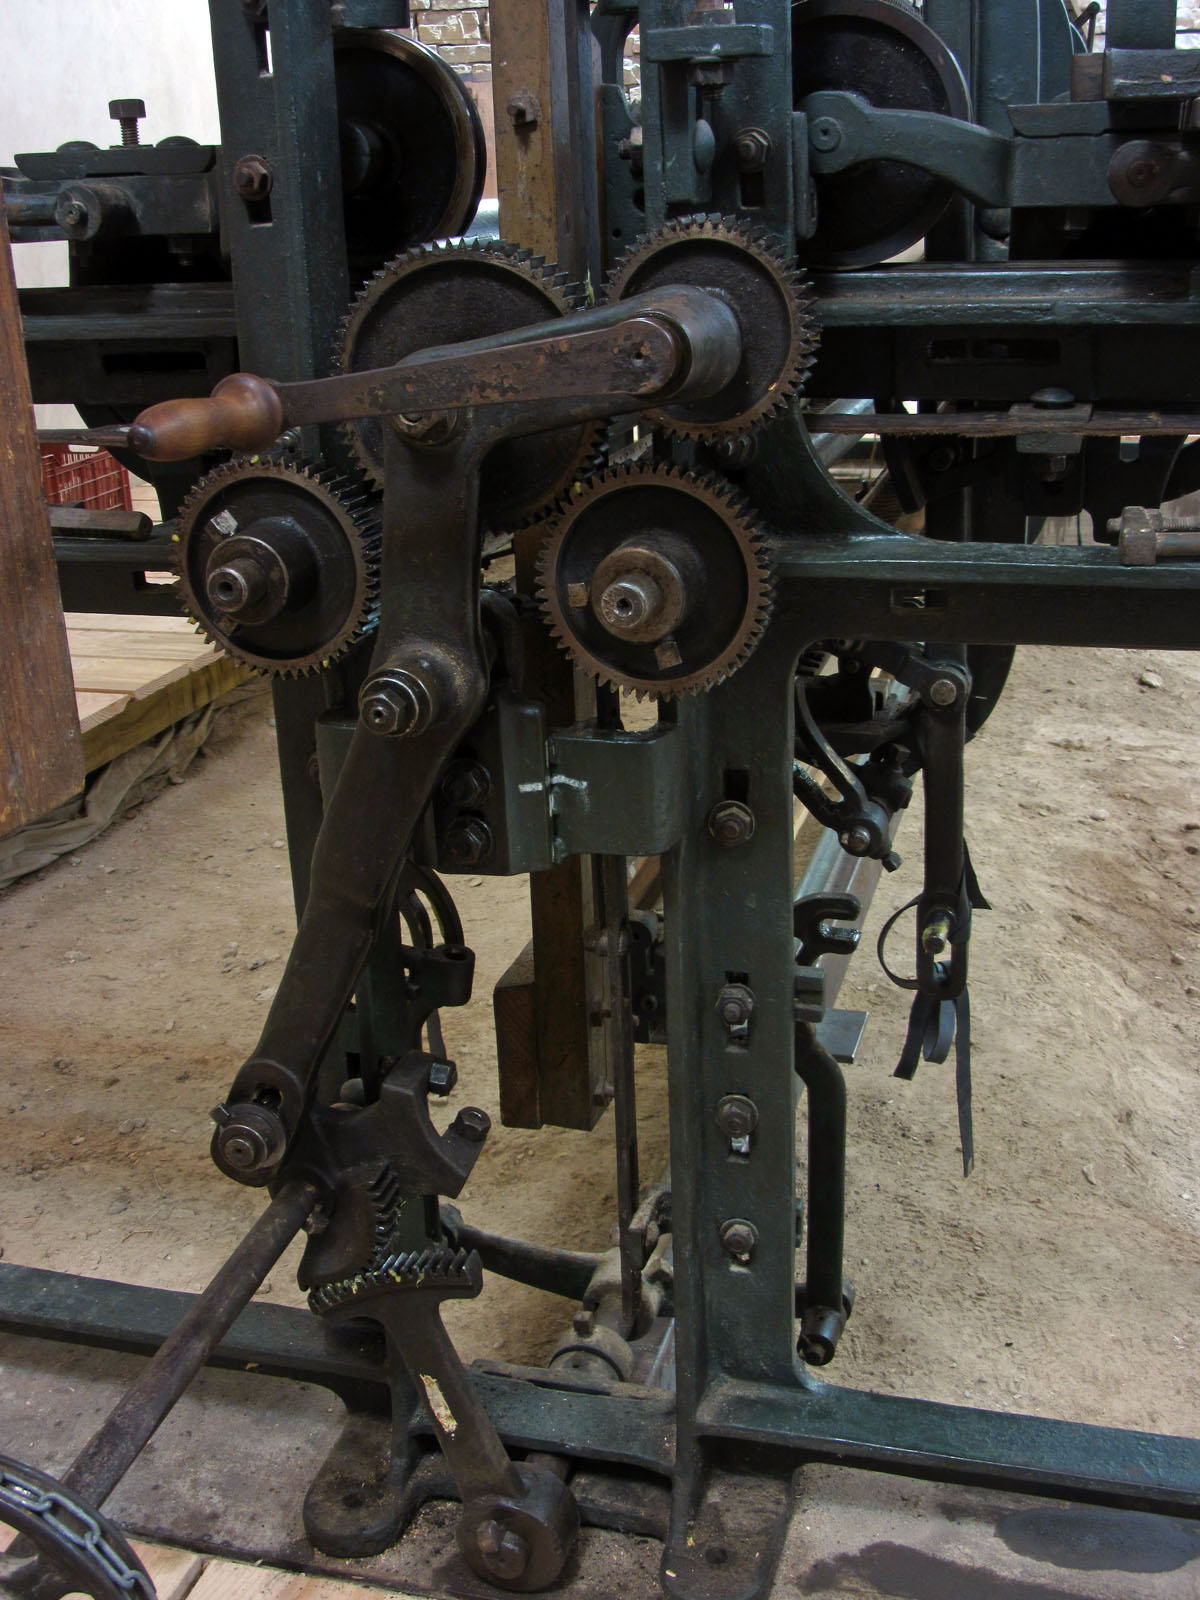
We have to play on 2 settings:
- Gear lash
- Optimal deflection of the inverter spreader bar
Therefore, we must locate the specific spot where to install the support for the crank. Here again, we much use an empirical approach. We did draw some guiding marks before disassembly, but those can only be used as a starting point. We must work it in carefully to test the position, then adapt it, try again, until we find the right spot. When it’s done, I adjust the stops. And voilà!
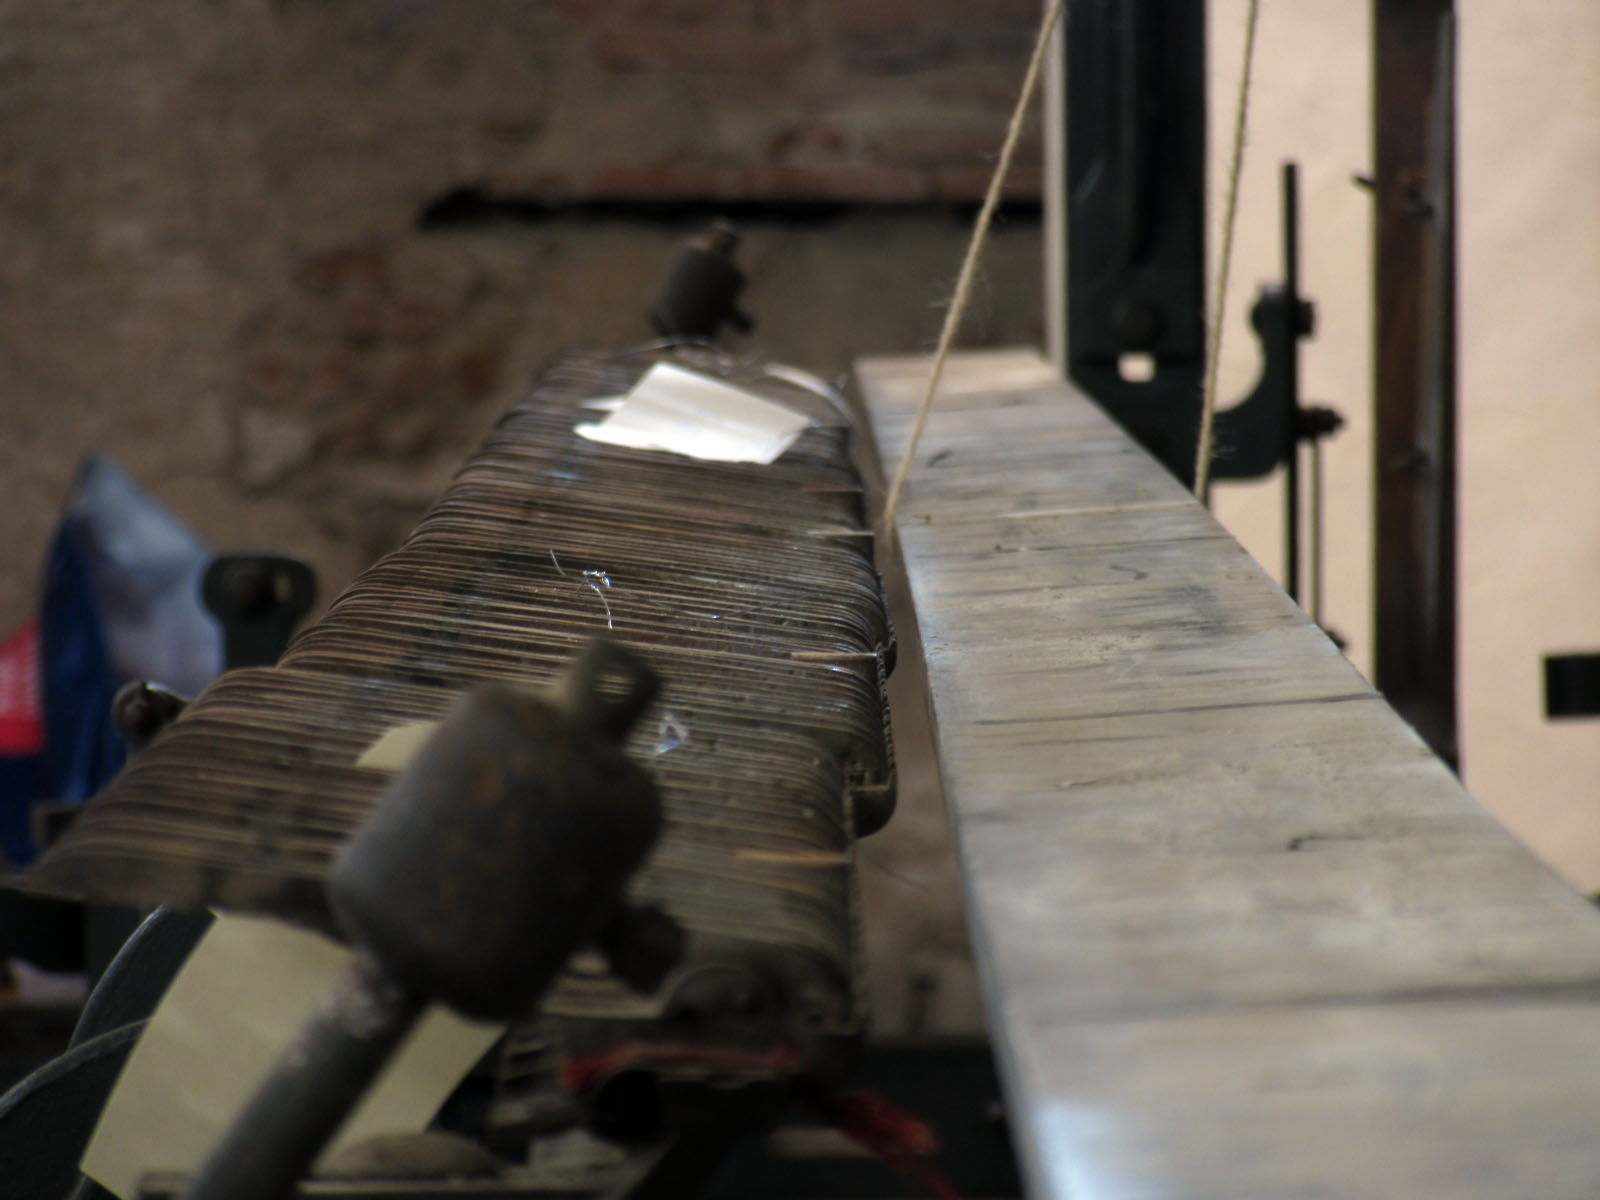
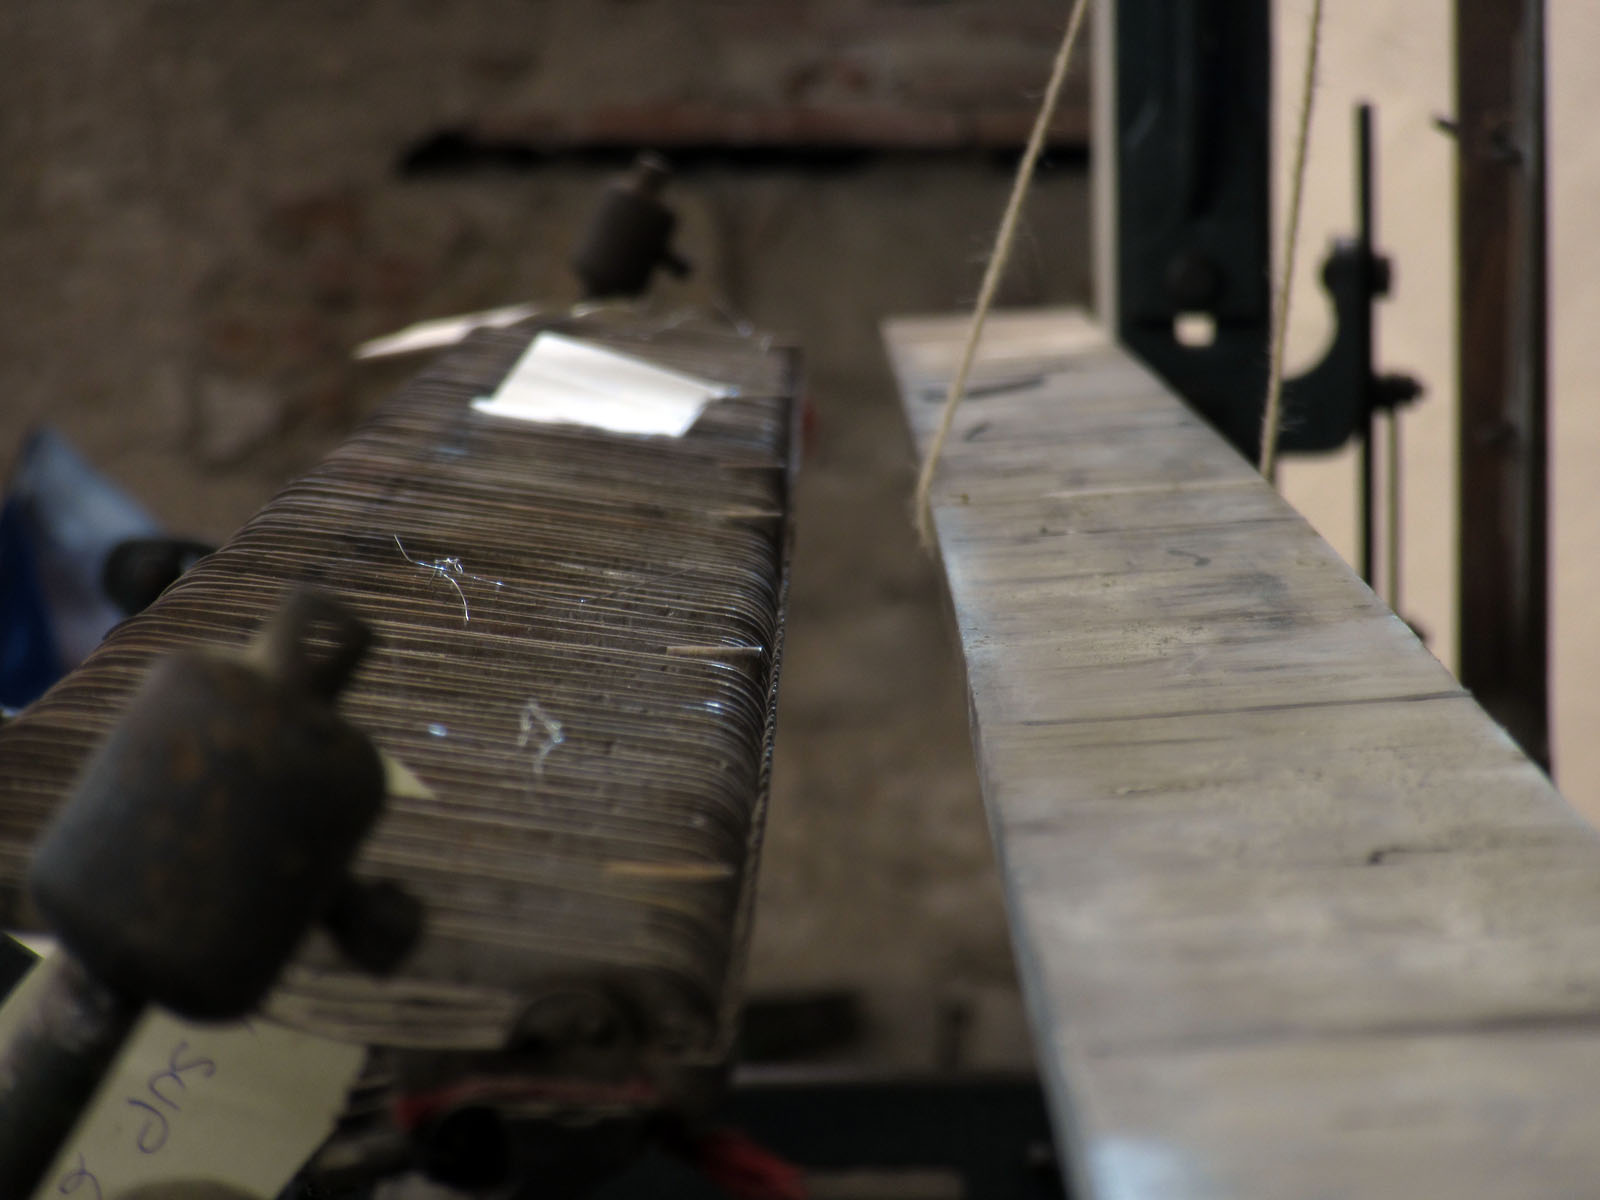
13. The belts
They are made of leather, and are perforated to be synchronized. To start with, I oiled them thoroughly to bring back the suppleness they had lost over the past many years of disuse.
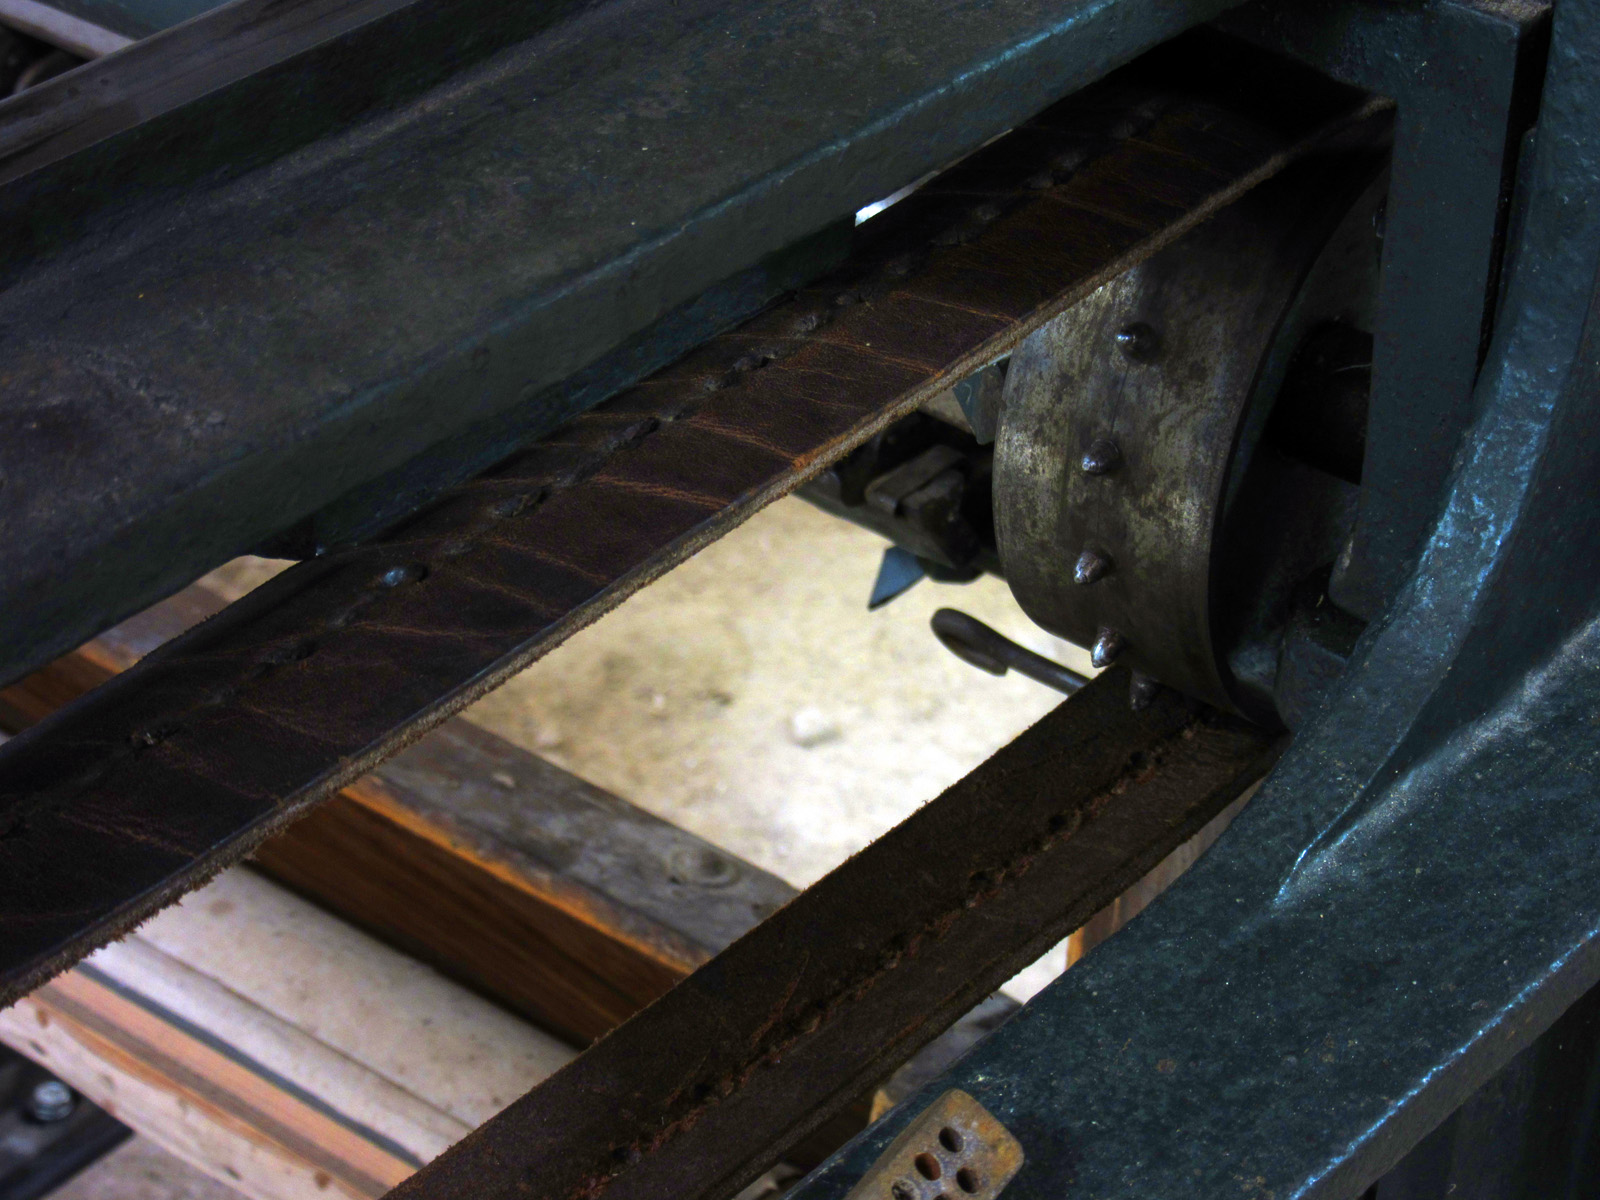
Over time, the belts have stretched and are now longer than when first installed. The holes now don’t match the studs that drive them. Nevertheless, as they are quite supple now, this turned out not to be too much of an issue. They provide enough grip that they manage to move the carriages. We must pay attention and try to feel when they come to the stops so as to be able to notice any mistiming…
It works! More fine tuning of the settings, and we are good to go. Even with a faulty belt. While we wait for new belts to be manufactured, we’ll make do.
14. Installing the pantograph
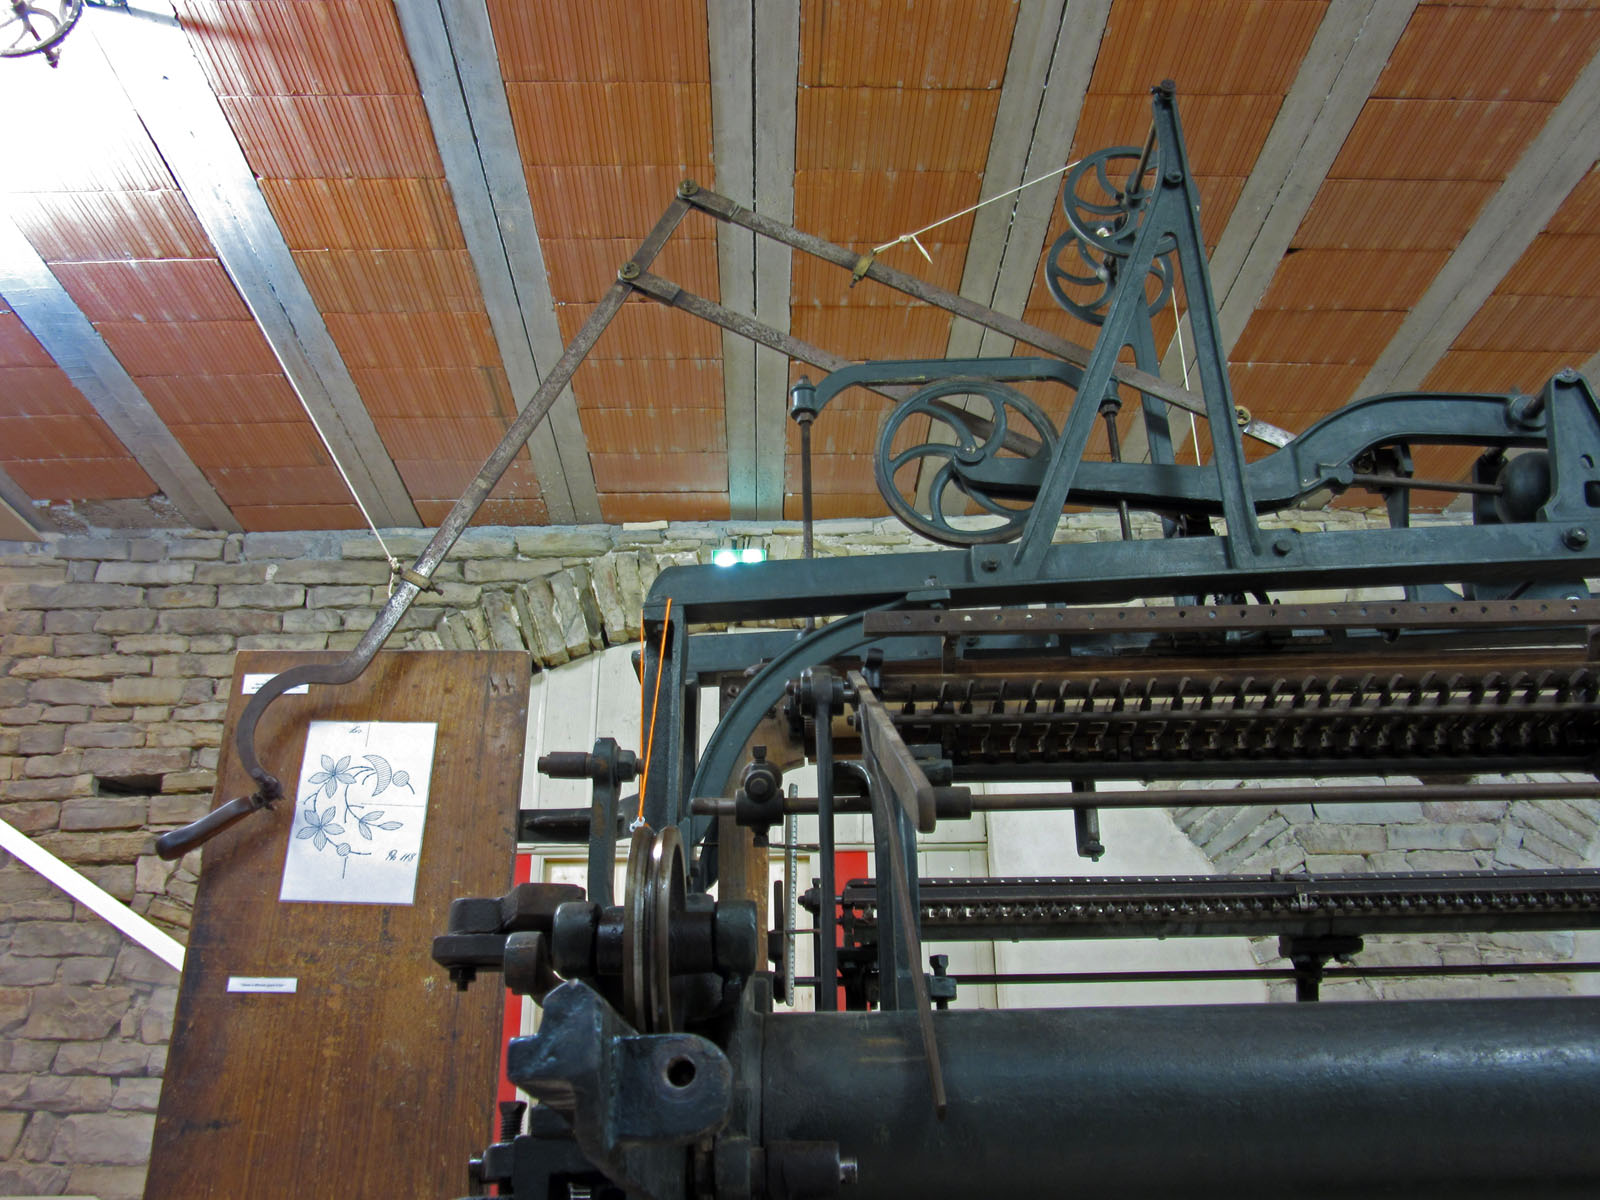
Here again, nothing tremendously complicated, we simply put it back together exactly the way it was when we took it apart. We install the counterweight. We check that it’s well centered over the frame, and we go on.
15. First trial runs
Everything is in place, the settings should be in the ballpark, it’s time for the first trial runs.
But before anything else, we must lubricate every single moving part. And we are off! I install a threaded needle on a clean and adjusted gripper. We almost weep with joy when we witness the needle switching sides, going from one 400 kg carriage to the next one, delicately switching from one gripper to another.
Our work here is done, the move can be considered a success.
What’s left to do:
The loom is in place, it works, but it’s not ready to start embroidery quite yet. In order to bring it back to its former glory, and make it fully functional, we still have a few things to do:
– Manufacture and install 4 belts, made of synthetic material: 6 hrs of work
– Rework camshaft; 2 hrs (done)
– Write up lubrication schedule; 6 hrs
– Clean and refresh grippers; 70 hrs
– Set up grippers; 13 h
– Secure machine to the ground; 4 hrs
– Clean the “bodywork”; 16 hrs
– Miscellaneous settings, optimization; 8 hrs
– Fixing one of the camshaft bearings; 4 hrs
– Refurbishing the ///plaqueurs///; 12 hrs
– Manufacturing and installing two security nets; 5 hrs
– Refurbishing blades; 26 hrs
– Replacing piano wires; 2 hrs
– Refurbishing frame guides; 2 hrs
– Miscellaneous tasks; 8 hrs
Provisional total hours: 170 hours
Once all this is done, we’ll be able to really get to work…
And above all…
We are going to visit the Appenzeller Volkskunde-Museum, in Stein, near Saint Gall, in Switerzland. They have the very same embroidery machine there. There’s a mechanic there, with probably 60 years of experience under his belt. There are also experienced embroiderers. But this is a different story, that I will have the pleasure of sharing with you at some other time…


ferran
27 March 2022 — 20 h 05 min
Nous avons laissé visible le sol sous la machine, car on peut y voir la trace des fondations des premières maisons de Cordes en 1222.
FERRAN
27 March 2022 — 20 h 07 min
We left visible the ground under the machine, because we can see there the trace of the foundations of the first houses of Cordes in 1222.